Most Android users never open Developer Options, and honestly, many never need to. But when you begin to delve into the higher Android settings, you are soon confronted with words that give the impression of being much more complex than they in fact are. Logger buffer size is one such setting. It remains silent within the Developer Options, but it can be quite problematic as its meaning is not apparent. The misunderstanding begins as the user notices the various values of the buffer size and asks whether increasing the value of the buffer size will make the device run faster or lag less. The reality is a lot easier. Learning the logger buffer size meaning can make you grasp how Android captures system activity, logs diagnostic data, and can come to the aid of developers who may need to debug a software problem.
Simultaneously, Logger Buffer Size is not the only aspect of the bigger Developers Options menu. Android has some of the most sophisticated tools like USB Debugging, OEM Unlocking, System Tracing, and Media Transcoding. Each environment has its own role to fulfill, and collectively they assist developers, testers, and advanced users in realizing what events are going on behind the scenes of an Android version. Have you ever wondered about what these settings are or whether you should change them? Then this article would help you become familiar with them in the simplest terms and not have to read a lot of technical mess to do so.
How to Enable Developer Options on Android Devices
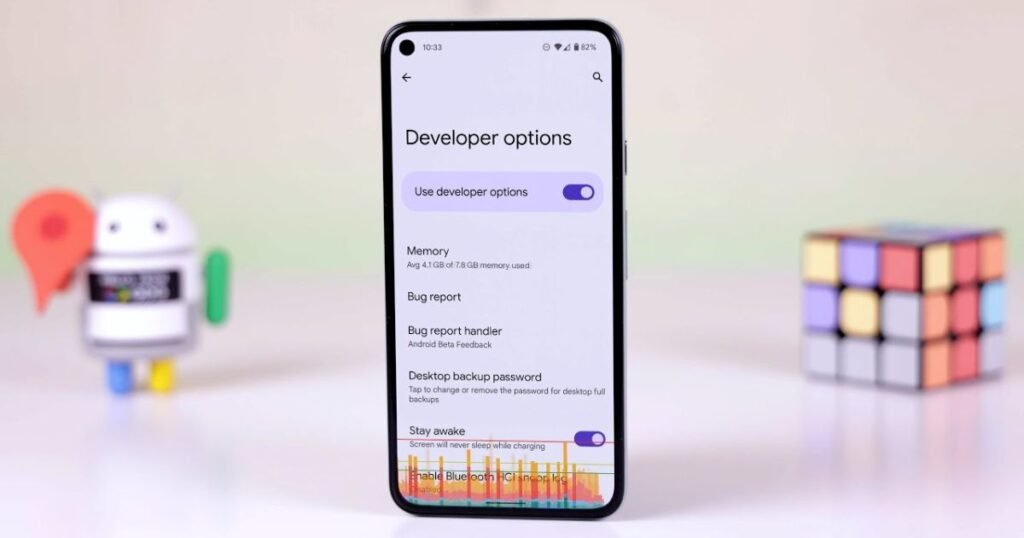
Android keeps Developer Options hidden because the average user rarely needs access to advanced system controls. Even so, enabling the menu takes less than a minute.
To enable Developer Options, just open the Settings app and choose the About Phone section. Scroll to Find Build Number. Die and seven times knock. Your phone will request your lock screen PIN/ password. When successful, Android will show a message indicating that Developer Options have now been enabled.
Enabling the feature will take you back to the main Settings menu. Depending on the manufacturer of your device, the Developer Options are located in System settings or in the bottom part of the settings page.
This secret menu has tools that can be used by developers to perform app testing, debugging, monitoring the system, and analyzing performance. Although most of the settings seem to be very technical in the initial sight, once you know their application, the menu becomes much less difficult.
What Are Android Developer Options and Why Do They Matter?
Developer Options is an advanced control panel of Android. Originally, these settings were built by Google as the software developers had to have direct access to debugging tools and system diagnostics. Over the years, it became common to see power users utilizing much of the same tools to personalize their systems and to debug.
It includes menu settings in the areas of logging, networking, rendering performance, USB communication, system tracing, and application behavior. Not every option will be touched by most users, but it can be better to know more about the basics to be prepared in those cases when you have to diagnose a problem.
Consider Developer Options as a diagnostic toolset. A mechanic has specialized tools that help him or her to know what is going on in a vehicle. Likewise, Android developers employ Developer Options to learn how things work within the operating system.
1. USB Debugging Option
USB Debugging is still one of the crucial options within Developer Options. It enables a computer to communicate with an Android device with an Android Debug Bridge, also referred to as the Android Debug Bridge or ADB. USB Debugging is used by developers who install programs, get access to the system logs, execute commands, and conduct tests. It is also used by technicians who need it to troubleshoot a device or salvage data.
For example, in case an app tries to start but crashes immediately, the USB debugger would enable the developer to open the application and see the detailed error logs. Such logs tend to indicate precisely what led to the issue.
| Purpose | Benefit |
| App Development | Test apps directly |
| Troubleshooting | View error logs |
| Device Management | Execute ADB commands |
| Data Recovery | Access system information |
| Software Testing | Analyze application behavior |
Most users should only enable USB Debugging when necessary because leaving it active provides an additional access point to the device.
2. Selecting USB Configuration
USB Configuration determines what will occur when you connect your phone to a USB cable to some other device. The needs of various users differ. Others use their phones just to charge, and some do so frequently to exchange files, photos, or videos. In this environment, Android is able to automatically select a default behavior.
A photographer may prefer Picture Transfer Protocol because it focuses on image management. Someone transferring work documents might prefer the Media Transfer Protocol because it supports broader file access.
| USB Mode | Function |
| Charging Only | Charges device |
| MTP | Transfers files |
| PTP | Transfers photos |
| MIDI | Connects musical equipment |
| USB Tethering | Shares internet connection |
Choosing the correct default configuration saves time because Android applies the selected mode automatically whenever a USB connection occurs.
3. OEM Unlocking
OEM Unlock gives an opportunity to unlock the bootloader of the device. The bootloader is a security checkpoint that identifies the allowed software to execute during startup. To ensure system security, manufacturers secure bootloaders to prevent attacks on the system. But synergists who have the Android knowledge also unlock them to install custom ROMs and have root access or utilize custom recovery software.
It provides a great degree of flexibility in setting, but it also raises some risks. Unacceptable changes may have an impact on stability, security, and warranty. OEM Unlocking is necessary for someone wishing to install a custom Android version. To the majority of users, the setting has very little practical use.
Logger Buffer Size Meaning: How Android Stores System Logs
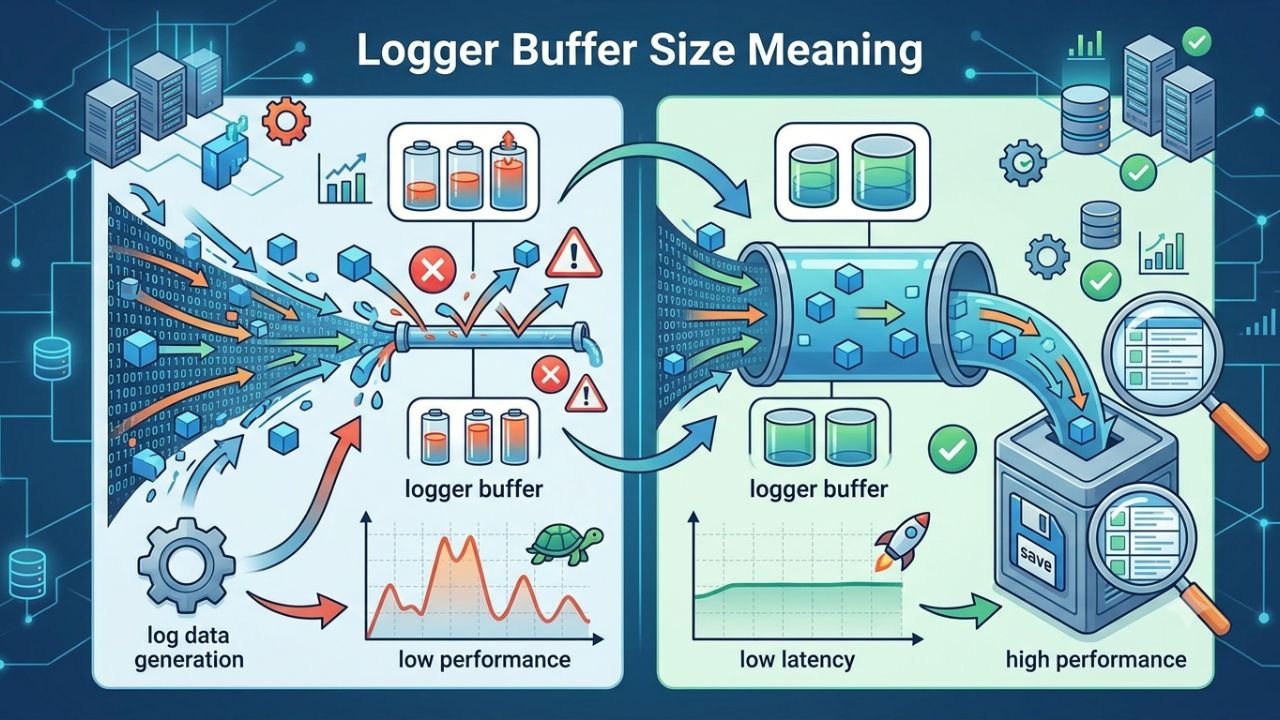
Understanding logger buffer size meaning becomes much easier once you know how Android records information. Every Android device continuously generates logs. These logs contain information about application activity, system events, warnings, crashes, and hardware behavior. Android stores this information in temporary storage areas known as log buffers. The logger buffer size refers to the amount of memory Android allocates to these buffers. When the buffer becomes full, Android removes older entries and replaces them with newer ones.
A simple example helps illustrate the concept.
Imagine carrying a notebook that can hold only 100 pages. Once the notebook fills up, you must remove older pages before adding new notes. Android handles log data in a very similar way.
Larger buffers preserve more history. Smaller buffers replace older information more quickly.
What Is Logger Buffer Size and Should You Change It?
Logger Buffer Size determines how much diagnostic information Android stores before overwriting older records. Developers often increase the size while investigating application crashes or system problems because larger buffers preserve more information for analysis.
Common options include:
| Buffer Size | Logging Capacity |
| 64 KB | Limited log storage |
| 256 KB | Moderate logging history |
| 1 MB | Extended logging data |
| 4 MB | Advanced diagnostics |
| 16 MB | Large-scale debugging |
For most users, the default value already provides enough logging capacity for normal operation.
Log Buffer Size Meaning: Real-World Uses and Practical Importance
The phrase log buffer size meaning often appears alongside logger buffer discussions because both terms describe the same basic concept. The practical value becomes clear during troubleshooting.
Suppose a phone loses network connectivity once every few hours. If Android stores only a small amount of logging information, important records may disappear before anyone investigates the problem. A larger buffer retains more historical data, making diagnosis easier.
That said, changing the setting does not improve gaming performance, increase processing power, or reduce application load times. The setting exists primarily for diagnostics rather than performance optimization.
Logger Buffer Size vs RAM Usage: What Most Users Get Wrong
One of the biggest misconceptions about logger buffers is that they directly improve phone performance. Many users assume that increasing the logger buffer size gives Android more memory to work with. That is not how the feature works.
Logger buffers use a small amount of system memory to store diagnostic records. These records help developers identify crashes, software bugs, and unusual device behavior. However, the memory allocated to logging remains separate from the memory that apps use during daily operation.
A larger buffer allows Android to keep more historical log data. Meanwhile, it does not make processing power faster and gaming performance greater or apps start faster. The default logger buffer setting can be used in most current smartphones due to sufficient RAM in these phones.
| Feature | Logger Buffer |
| Main Purpose | Store system logs |
| Uses RAM | Yes |
| Improves Performance | No |
| Helps Troubleshooting | Yes |
| Affects Gaming FPS | No |
| Used By Developers | Yes |
Best Logger Buffer Size Settings for Different Android Users
Different logger buffer sizes serve different purposes. Android manufacturers typically choose a default setting that balances memory usage and diagnostic capability. Smaller buffers consume less memory but retain less information. Larger buffers preserve more details but allocate additional resources to logging.
| Use Case | Recommended Buffer Size |
| Everyday Use | Default |
| Basic Troubleshooting | 256 KB |
| Application Testing | 1 MB |
| Developer Diagnostics | 4 MB |
| Extended Debugging | 16 MB |
Most users never need to modify this setting because Android already selects a practical default value.
Wi-Fi Scan Throttling
Wi-Fi Scan Throttling controls how frequently Android searches for nearby wireless networks. Without throttling, a device could continuously scan for available networks. Frequent scanning would increase battery consumption and potentially affect efficiency.
Android therefore spaces out scans to balance connectivity and battery life. The device continues to find other networks in the vicinity, albeit at a lower rate of scanning. This setting assists power-intensive location users to manage power consumption without reasonably impacting network discovery.
Media Transcoding Settings
Media Transcoding allows Android to convert media files from one format into another format that applications can understand. Different apps support different audio and video formats. Sometimes Android must convert files automatically to ensure compatibility.
Imagine recording a video in a modern format and then attempting to open it in an older application. Android may transcode the file into a compatible format so playback continues without issues. Media Transcoding settings allow developers to test how applications behave when format conversions occur.
System Tracing
System Tracing is a technique used to document the time-consuming use of hardware and software resources by Android. Tracing tools enable developers to monitor rendering performance, application activity, memory allocation, CPU usage, and CPU usage. Such records assist in tracking the bottlenecks which may cause responsiveness.
To give an example, in case a device is slow to open a particular application, System Tracing can be used to understand whether the device ran slowly due to an overload of CPU usage or the memory, or other background activities. Tracing is one of the strongest diagnostic tools, as it records in-depth technical data, which makes it one of the most effective tools, included inside Developer Options.
What Logger Buffer Size Do Android Developers Recommend?
The ideal logger buffer size depends on how you use your Android device. Most smartphone owners never review logs, which means the default setting already provides enough logging capacity.
Developers often increase the buffer size temporarily while testing applications or investigating software issues. Larger buffers preserve more information and help identify problems that occur over longer periods.
| User Type | Recommended Setting |
| Regular User | Default |
| Power User | 256 KB |
| Beta Tester | 1 MB |
| Android Developer | 1 MB–4 MB |
| Advanced Diagnostics | 4 MB–16 MB |
For most users, changing the setting provides no practical benefit. Developers, however, often rely on larger buffers when collecting detailed Logcat reports.
When Should You Change Logger Buffer Size on Android?
Most users should leave the setting unchanged. Android manufacturers carefully choose default values that provide sufficient logging capacity without consuming unnecessary resources. Unless you actively collect logs or troubleshoot software problems, changing the setting rarely provides any benefit.
You may consider increasing the buffer size if you are:
- Testing Android applications
- Collecting Logcat reports
- Investigating recurring crashes
- Diagnosing performance issues
- Working with beta software
For everyone else, the default value remains the best choice.
Common Logger Buffer Size Mistakes Android Users Make
Many users change Developer Options without fully understanding their purpose. Logger Buffer Size often becomes one of those settings because the name sounds important. The most common mistake involves increasing the buffer size in hopes of improving performance. Logger buffers do not function as performance boosters. They simply determine how much diagnostic information Android can retain.
Another mistake involves selecting extremely large values without a specific troubleshooting goal. In most situations, Android’s default configuration already balances memory usage and logging requirements effectively. Users also confuse logger buffers with RAM management tools. While buffers use memory, they do not optimize how Android allocates resources to applications.
Does Logger Buffer Size Affect Speed, RAM, or Battery Life?
A common misconception suggests that larger buffers improve device speed. They do not. The logger buffer size meaning relates to logging capacity rather than processing performance. Increasing the size allows Android to retain more diagnostic information, but it does not make applications load faster or improve gaming performance. Modern smartphones generally handle larger buffers without noticeable impact. However, the change offers little value unless you actually need additional logging information.
Can Logger Buffer Size Improve Gaming Performance?
Many gamers discover the setting inside Developer Options and assume it can reduce lag or improve frame rates. That assumption is understandable because Android places the feature alongside several advanced system settings. The reality is much simpler. Logger Buffer Size does not affect graphics processing, CPU speed, GPU performance, or refresh rates. Increasing the value only allows Android to store more logging information.
If a game experiences lag, the cause usually relates to hardware limitations, background applications, thermal throttling, internet connectivity, or game optimization. Changing logger buffers will not solve those problems. For gaming purposes, leaving the default setting remains the best choice.
Real Example: When Logger Buffer Size Helps During Troubleshooting
“ Imagine an Android application that crashes only once every eight hours. A small log buffer may overwrite important records long before a developer investigates the issue. Now imagine the same device using a larger logger buffer. Android retains more historical information, allowing developers to review events that occurred before the crash. That additional context often reveals memory leaks, network failures, permission conflicts, or unexpected software behavior. This example highlights the true purpose of logger buffers. They exist to preserve information for analysis, not to improve everyday performance.”
Final Thoughts: Android Developer Options and Logger Buffer Size
Developer Options gives Android users access to powerful tools that reveal what happens behind the scenes on their devices. Features such as USB Debugging, OEM Unlocking, Media Transcoding, System Tracing, and logging controls all serve specific purposes within Android’s diagnostic ecosystem. Understanding logger buffer size meaning helps remove much of the confusion surrounding one of the most misunderstood settings in Developer Options. Once you know that the feature controls how much diagnostic information Android stores, the setting becomes much easier to understand.
If you ever wondered what is logger buffer size or searched for the log buffer size meaning, the answer ultimately comes down to storage capacity for system logs. Developers may benefit from larger buffers during troubleshooting, while everyday users rarely need to adjust the setting at all. The best approach is simple. Learn what the setting does, understand when it becomes useful, and leave it at the default value unless you have a specific reason to change it. That way, you gain the knowledge without creating unnecessary complications on your device.
Also Read About: How to Speed Up Android Phone: 15 Easy Fixes for a Faster, Lag-Free Device